
Steps to a successful PCB assembly for efficient PCB prototyping and production


Printed circuit boards form the very core of all electronic and many electrical devices, they provide the fuel that allows them to function at desired standards. The earlier simple designs have evolved into complex, sophisticated circuit boards that are used to power an increasing variety of highly advanced and complex machines and equipments. As gadgets become more and more integrated into every aspect of human life, the need for PCB prototyping becomes even more important than ever. In some human applications powered by gadgets, like the healthcare the margin for error is nil, which increases the significance of PCB prototype and assembly.
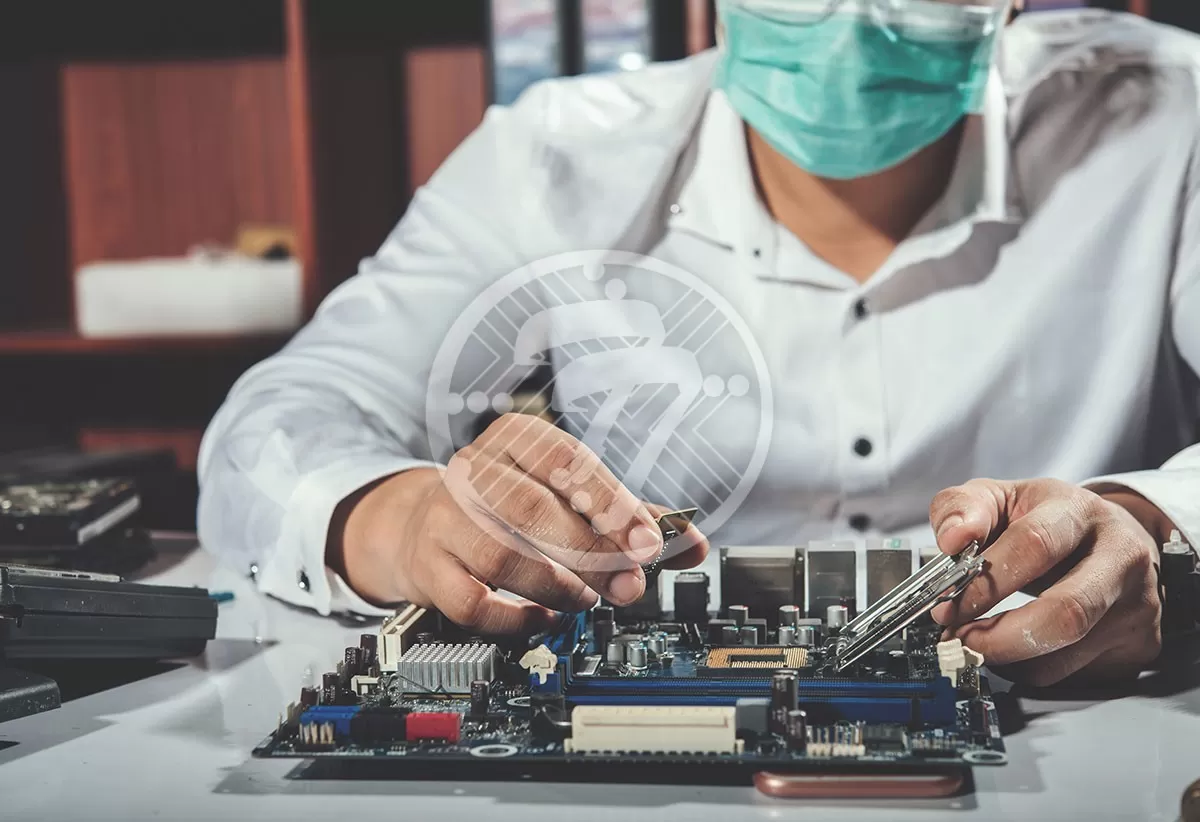
Assembly of printed circuit boards, also called PCBA is essentially referred to the process of assembling or soldering electronic components onto a circuit board. The Assembling of a circuit board is not the same as manufacturing a circuit board. A circuit board is only manufactured once the design, prototyping and testing phases are over, but the assembling a circuit board happens both during the prototyping phase as well as post manufacturing of the circuit board.
There are some items critical for assembling a Printed circuit board, these include
- Circuit board
- Electronic components for soldering
- Equipments for soldering
- Materials like solder paste and wire
- Equipment for testing
The most important PCB Assembly Process Steps:
- Drawing up an Assembly Diagram
- Adding Solder Paste
- Component placement onto board
- Board Reflow
- Inspection
- Final Assembly
- Cleaning
Create a PCB assembly design
The first and most important step in PCB assembly as well as manufacturing is the design of the PCB; it is like a pictorial road map that guides you to where each electronic component should be located on the circuit board. Assembling a PCB is virtually impossible without a PCB assembly diagram; at best you will be able to create a low quality PCB prototype that is likely to fail most quality tests and will need considerable remaking to ensure it meets quality and performing standards. PCB Assembly diagram will accurately capture what components are required for assembling, their arrangement on the circuit board and how they will connect with each other for best performance. Check out the guide on How is Circuit Board Prototyping best option for innovative PCB design
Applying Solder Paste
The actual process of PCB assembly starts with the application of solder paste to board with the help of stencils that are customized based on final product application. It is important to ensure that the circuit board and the stencil are facing the same direction and that the solder pads on the circuit board are fully aligned to the stencil cutouts. Make sure the stencil stays in place while you apply the solder paste.
Assembling the Components
Component Assembly can be done either by hand or with the help of a machine. The Machine Assembly of the circuit board can be done in two ways,
- Surface Mount Assembly
- Through-Hole Assembly
Surface mount assembly is generally used when small components need to be directly placed on the surface of the circuit board. These machines can mount all the components within minutes greatly increasing the speed and efficiency of the prototype PCB Assembly process.
Larger components like LED’s and capacitors on the other hand need to be soldered onto the circuit board using through-Hole Assembly process wherein they are manually placed on the circuit board. It is only after visual inspection has been done to ensure that each component is being placed on the right pad before soldering it in.
Board Reflow
After soldering the components onto the circuit board is completed, they are then passed through the reflow oven to bond the components with the circuit board mechanically. This ensures that the components are firmly connected, electrically and mechanically to the circuit board and to each other.
Inspection post Board Reflow
Post reflow inspection with the help of pinhole cameras helps ensure that the connections between the components are placed at the right locations.
Final Assembly
Final Assembly of printed circuit board is done to place any remaining small components as well as repairing and soldering of any misplaced components or electrical connections.
Cleaning
The last process in PCB assembly involves remaining flux from the finished printed circuit boards. New technologies like the aqueous system have made it possible to remove solder paste and flux from board without using chemicals harmful to the environment.
Conclusion
Prototyping has always been an important step in any product development process. PCB prototyping is particularly important because different applications require different kinds of PCB assembly and unless you assemble a prototype to conduct an actual functionality test, you are likely to end up with a sub optimal product. PCB prototyping till some time back was a costly and time consuming process mainly because the assembly process had to be outsourced. But technological advancements have made it possible to conduct PCB assembly for prototyping on-site making the whole process significantly faster and far more cost effective.
Technotronix is an ISO 9001-2015 certified with having RoHS compliance PCBA and PCB prototyping expert. Contact us for custom and quick turnaround PCB assembly services for your electronic product at sales@technotronix.us as, we are just a click away on the internet freeway!
Request a quote for PCB Assembly!